Creating seamless textures the easy way
When you design a terrain for a game, you don’t just have a single texture that you apply to the whole terrain, as the texture’s size would be way too huge. An approach that gives you more flexibility is to instead create small texture chunks that are repeated all over the map. Now it’s important that the textures you use are seamless, i.e., there are no visual borders that would indicate the individual tiles. I’ll show you how to create seamless textures.
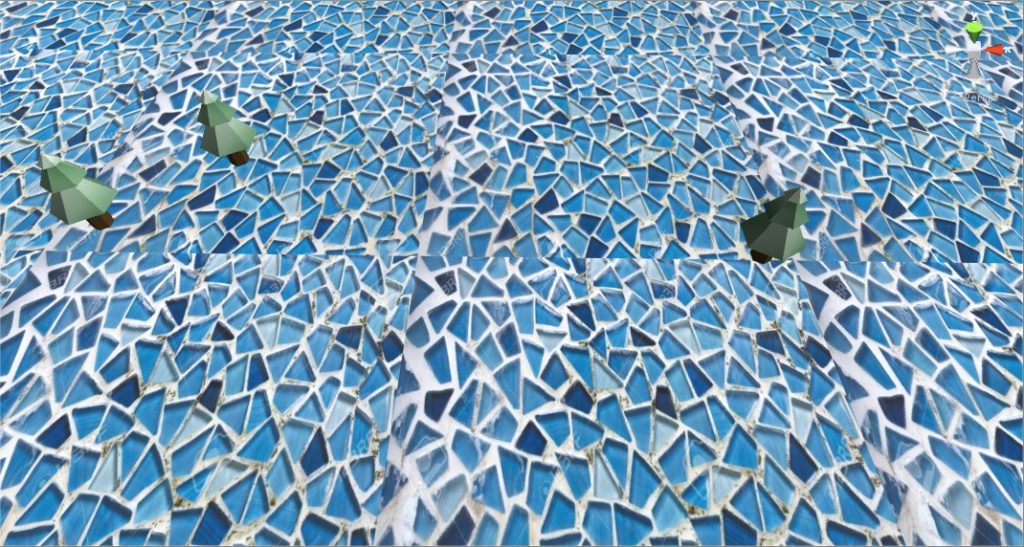 Non-seamless texture: You can see the seams/borders of the texture as the shapes do not wrap around and the lighting level differs on opposite sides of the texture.
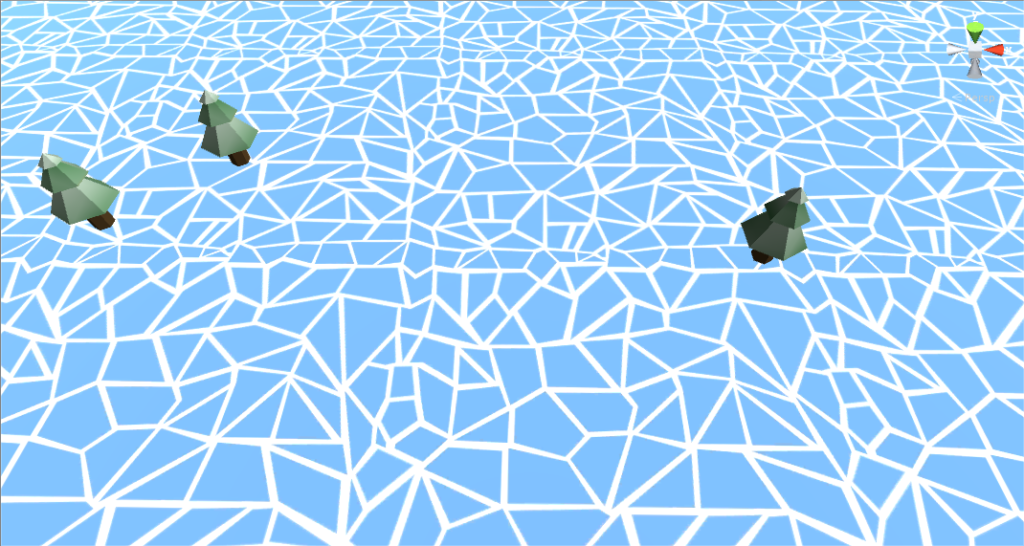 Seamless texture: There is no border around the individual tiles.
The idea
The intuition of my method is this: The hardest part is the border, so the first step will be to create a border that wraps around the edges. I do this by drawing the border the usual way in the middle of the screen and then applying two smart cut + translation operations. Then we have a seamless texture at the border. Then the second step is simply drawing the center content of the texture.
Creating the border
- Draw your border as a cross in the center of the texture.
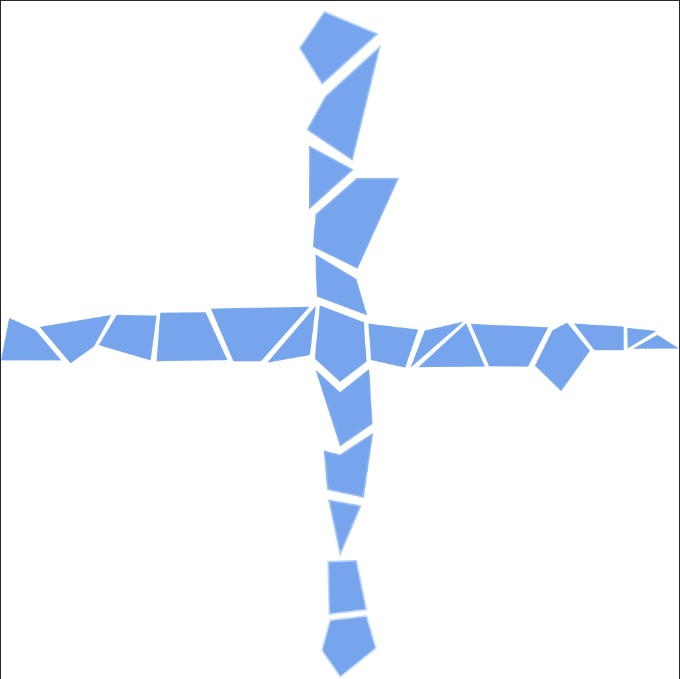 Draw your border as a cross in the center of the texture
- Cut the texture vertically at the center. Swap the left and right parts.
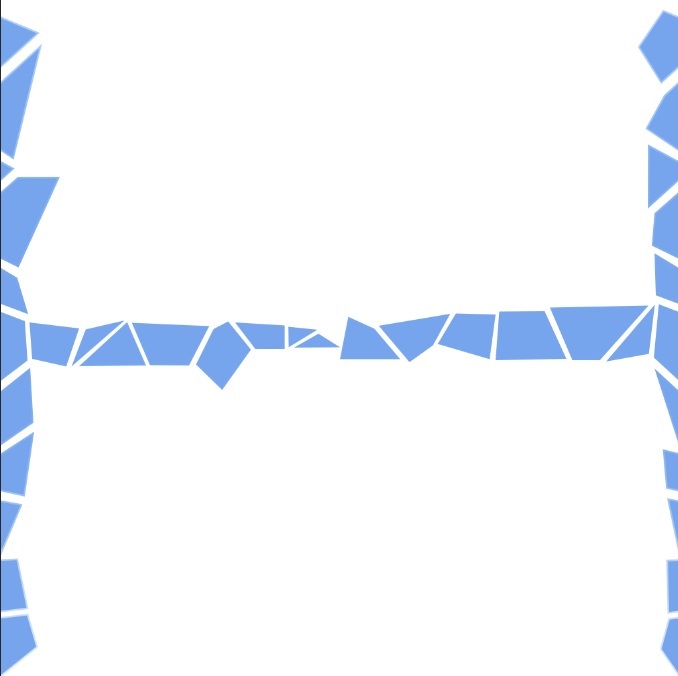 Cut the texture vertically at the center. Swap the left and right parts.
- Cut the texture from step 2) horizontally at the center. Swap the top and bottom parts.
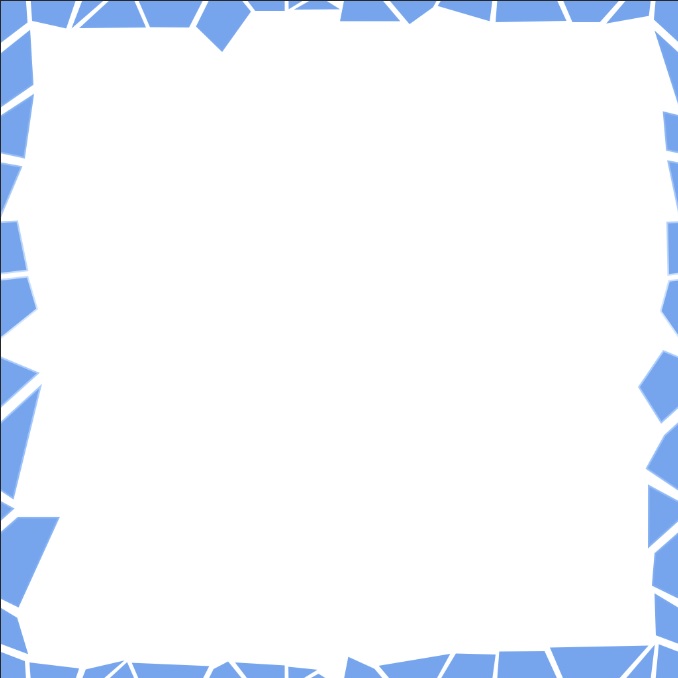 Cut the texture horizontally at the center. Swap the top and bottom parts.
You have now created a seamless texture. This is how it looks in a game right now:
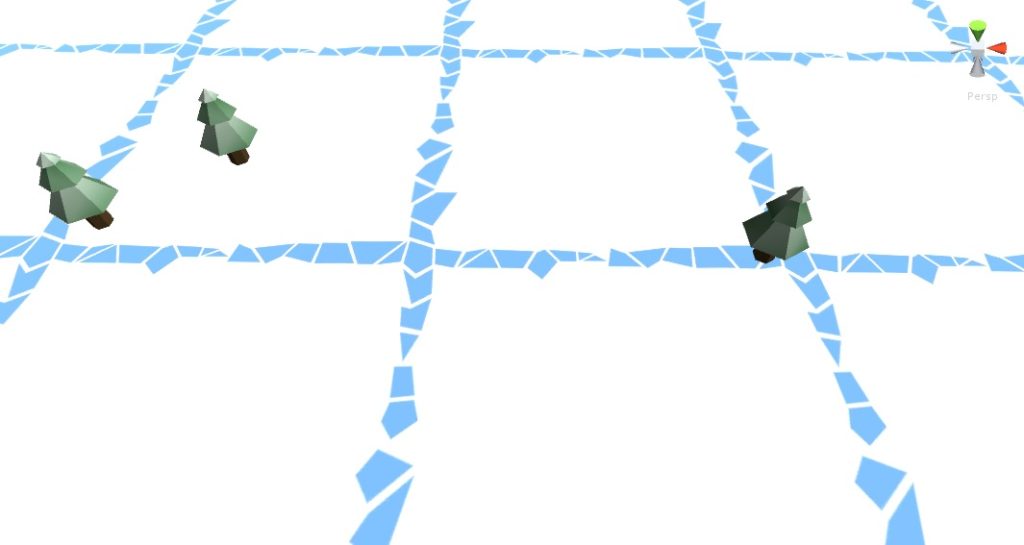
Fill in the center of the texture
Now fill in the center of the image however you like:
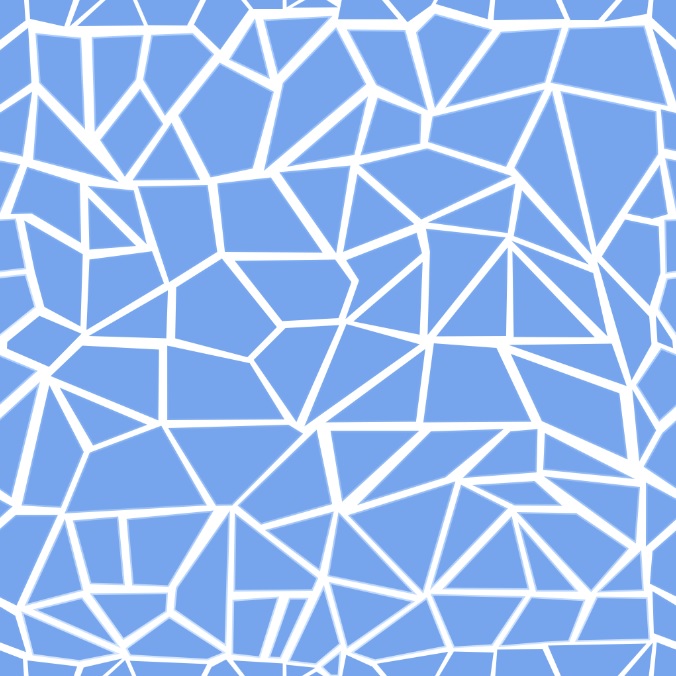
Again the finished result:

